1. Select Device
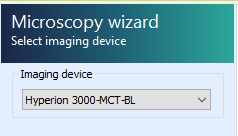
In the OPUS Microscopy Wizard, select the Hyperion 3000-MCT-BL imaging device. This may have already been done during experimental setup.
If prompted to calibrate the stage, you must ensure there are no collisions. This entails:
- Remove the purge cover assembly
- If 36X condenser is installed, drop the condenser 6-7 mm.
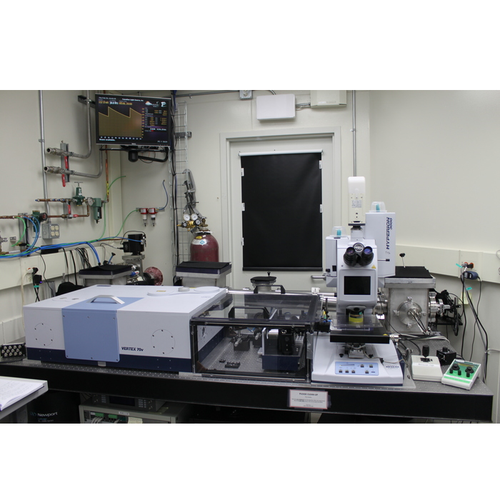
2. Focus sample
Instrument with default to Reflection mode. Switch to Transmission.
Using either the video display or the ocular viewer, bring your sample into focus by twisting the sample stage joystick.
- Rotate joystick clockwise to lower sample stage, counter-clockwise to raise.
- Both apertures should be in the OPEN position
- Microscope should be in the visible light mode.
- Illumination is controlled by LED driver (intensity) and condenser stage joystick (alignment)
3. Collect visible image
- Ensure that
modeandobjectivesettings are correct (Transmission, 36x Objective for example):
If you are only interested in the part of the sample already in the field of view, press Single image. However if (more likely) you wish to survey a larger area of your sample, choose Define overview image.
- Navigate around the sample and press "Add new border point" at the edges of the area of interest
- Press "Collect defined image"
Multiple sample positions / visible images can be collected, but they must all be in the same plane of focus.
- The visible image(s) will be saved inside your OPUS data file.
- Right-click and select "Export current image" to save as stand-alone image files.
4. Locate clean background position
Continue through the OPUS wizard
- Select "Measure background once" or "Measure background after each n sample measurements" as desired.
- Select "User defined background position"
Using the joystick or saved stage position button (⭐), locate a position on your sample substrate which is clean from particles or contamination.
- Select "Set background position"
- Right click on the camera view and select "Add stage position" to store this position for subsequent measurements.
5. Align microscope
- Select the bottom aperture which corresponds to the desired spot size.
- Adjust the substage condenser position using the SmarACT controller to center and focus the aperture
- Select the matching top aperture
- Adjust the condenser position in XY to align the two apertures concentrically.
6. Measure background
Confirm microscope settings again (Transmission, Objective Magnification).
Verify signal through microscope:
- Switch to IR mode
- Press the "Advanced Data collection" button in the top toolbar
- Check the experiment file matches your method:
HYPERION 3000-MCT-BL_TRANS.XPM- Reload the correct file if different or if first time through wizard
- Switch to the "Check Signal" tab
- Select "Spectrum" view and verify energy curve and amplitude are nominal for your optical setup
- Beamline staff will assist with this during setup / training
- Close the "Advanced Data Collection" window
Collect your background by selecting "Measure background"
7. Define IR measurement positions
- Confirm desired number of scans under Measurement parameters / Scan time.
There are four types of measurement positions. They can be combined in any order or number.
To define a measurement position, select the desired tool and click on the visible image where you would like to measure.
- Mapping grid
Click and drag to define a grid.
In the popup window, enter the desired point spacing and number of points, and press OK.
Reposition the grid if desired. - Arbitrary points
Each click will correspond to a single measurement.
Double-click the tool to select multiple points in a row - Line scan
Click and drag to define a line.
In the popup window, enter the desired point spacing and number of points, and press OK.
Reposition the line if desired - Current stage position
Pressing this tool will immediately mark the current stage position for measurement.
This can be combined with stage translation (Joystick or "Move to" stage tool) to mark multiple positions directly.
When all measurement positions have been selected, press "Next"
8. Start sample scan
- Enter a sample name
- Edit sample form if desired
- For example, enter selected aperture size
- Confirm file path corresponds to the current active project (
D:\Data\33G12345~Surname) - Press "Measure sample"
Next sample / region
After collection, another visible image window will appear. This can be used to collect visible images after measurement if desired.
- Press "Next"
- Review data in OPUS if desired, or unload file and sync to review in Quasar
- Select "Video Guided Measurement" tab to return to Microscopy wizard
- Continue at step 3. Collect visible image